
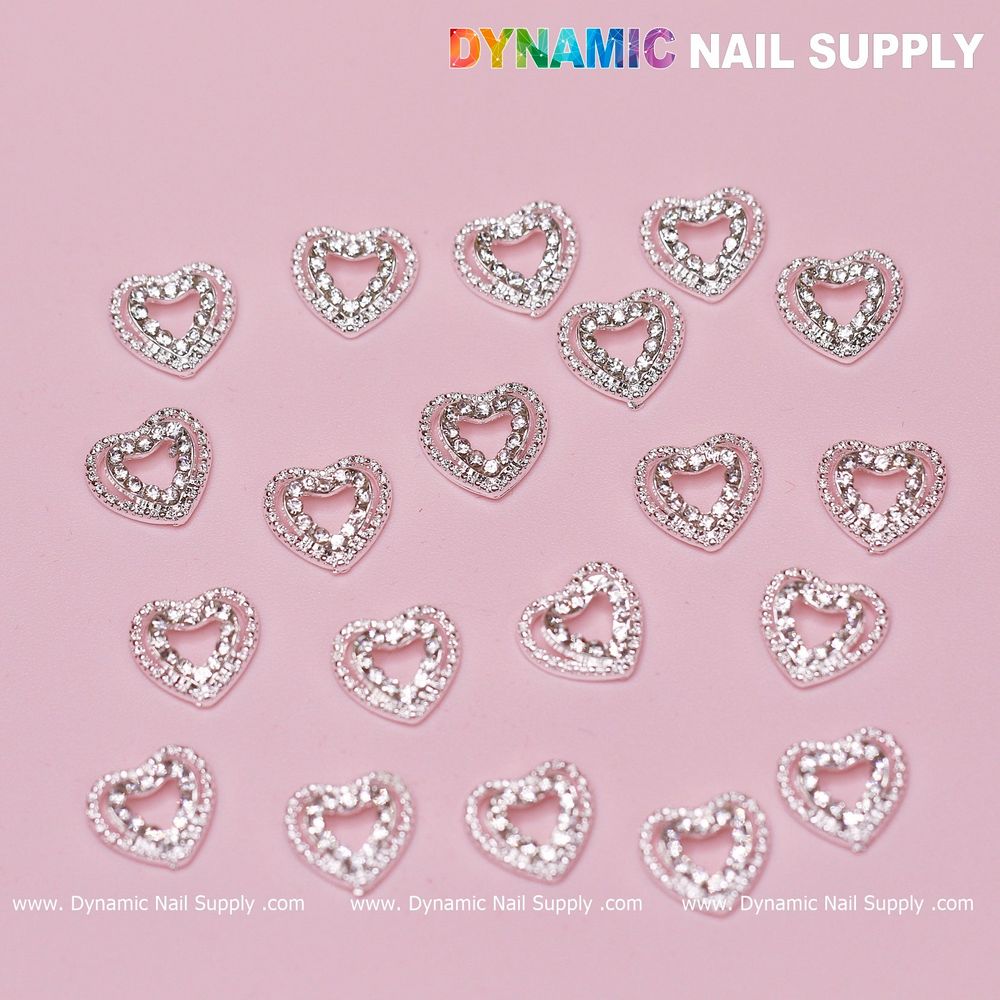
Want a professional-looking Valentine’s manicure without an appointment? These tiny, dimensional heart charms turn ordinary nails into eye-catching accents—perfect for seasonal sets or year-round spark.
For a quick start, consider this curated routine using the 20-piece charm pack: 3D silver heart nail charms set —it helps you plan placement and tools before you begin.
Why these charms give pro-level impact
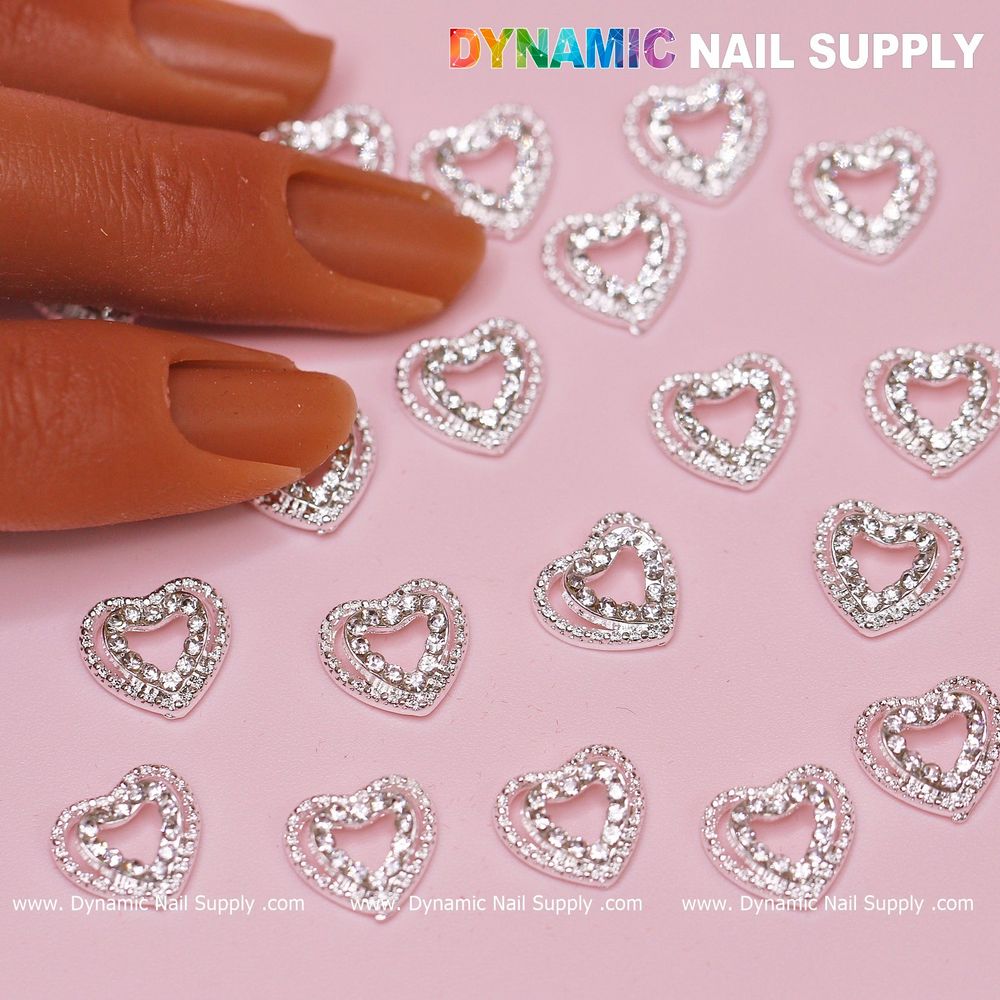
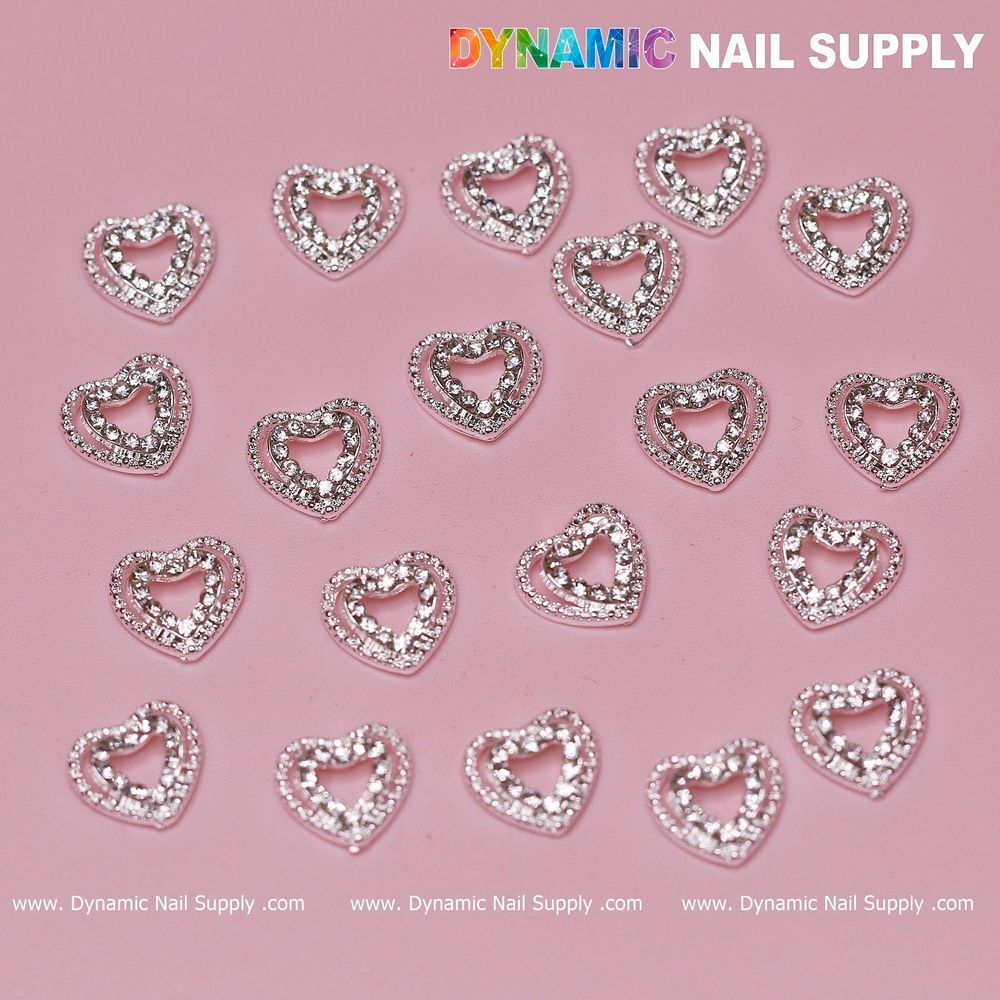
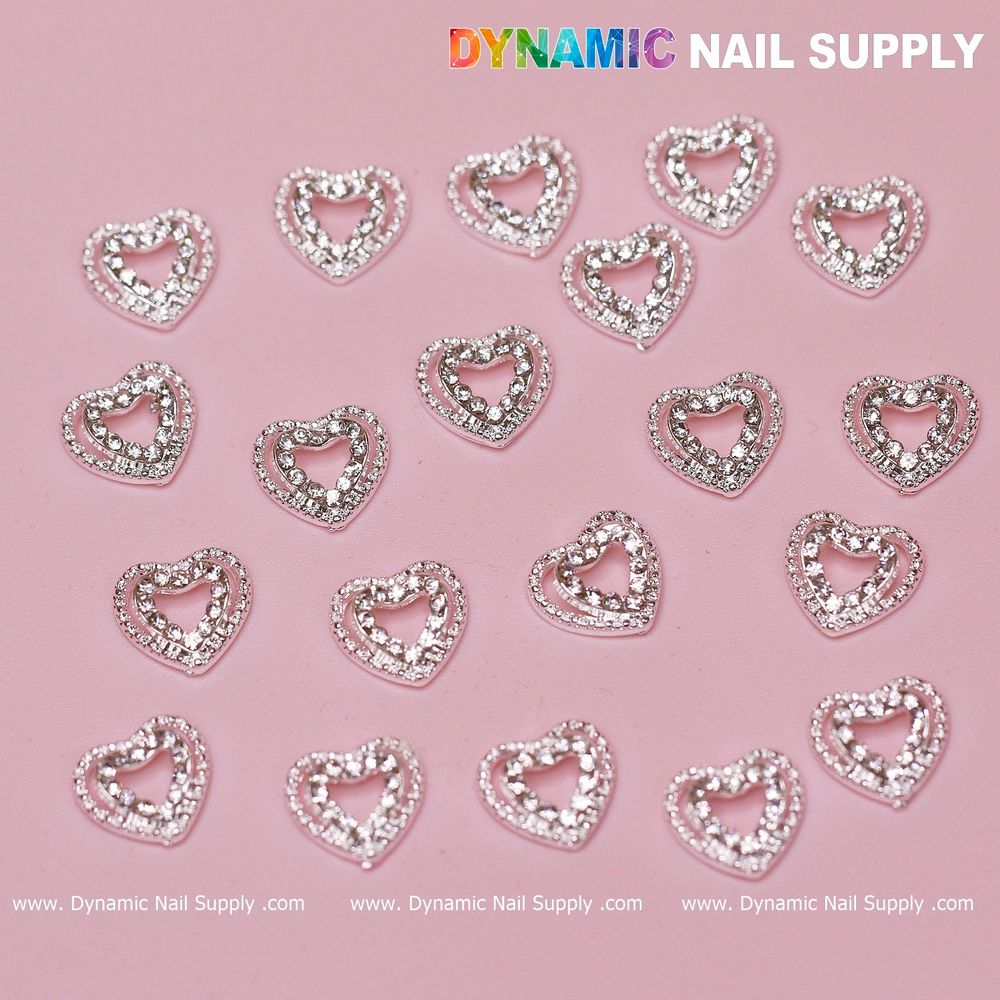
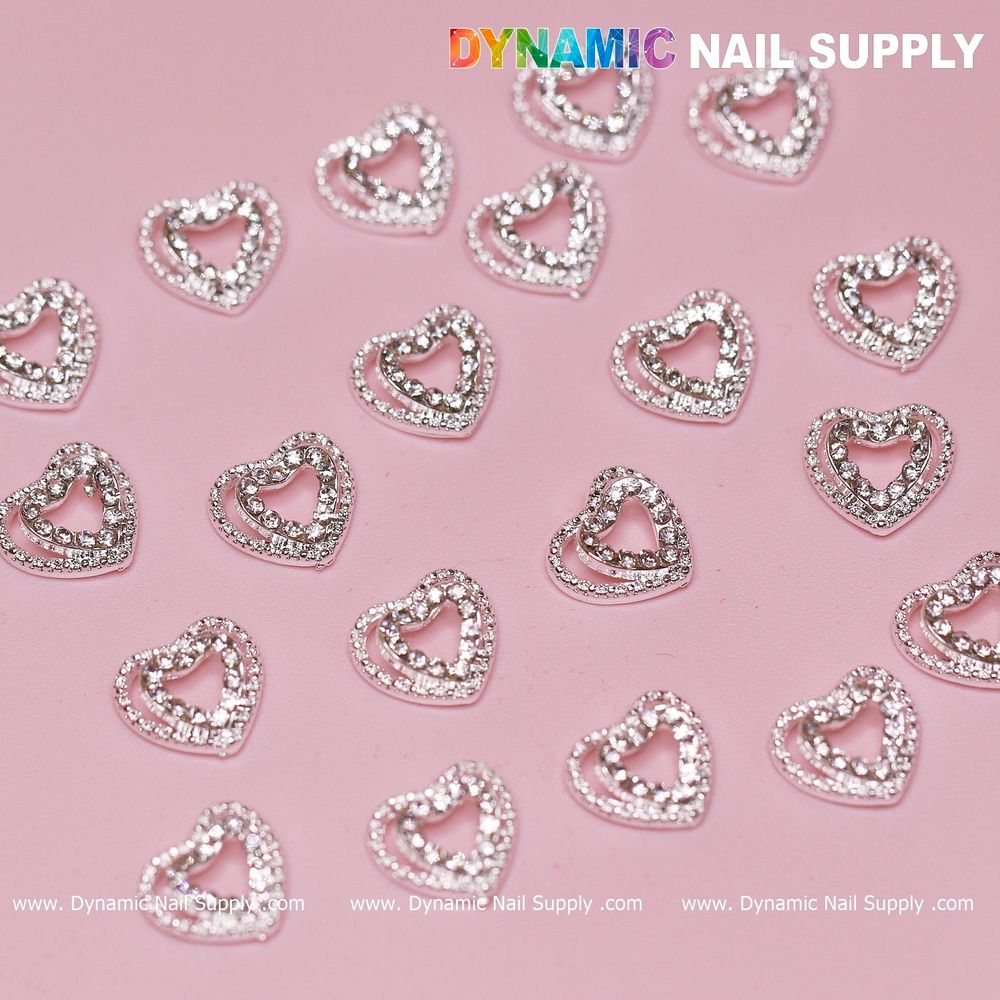
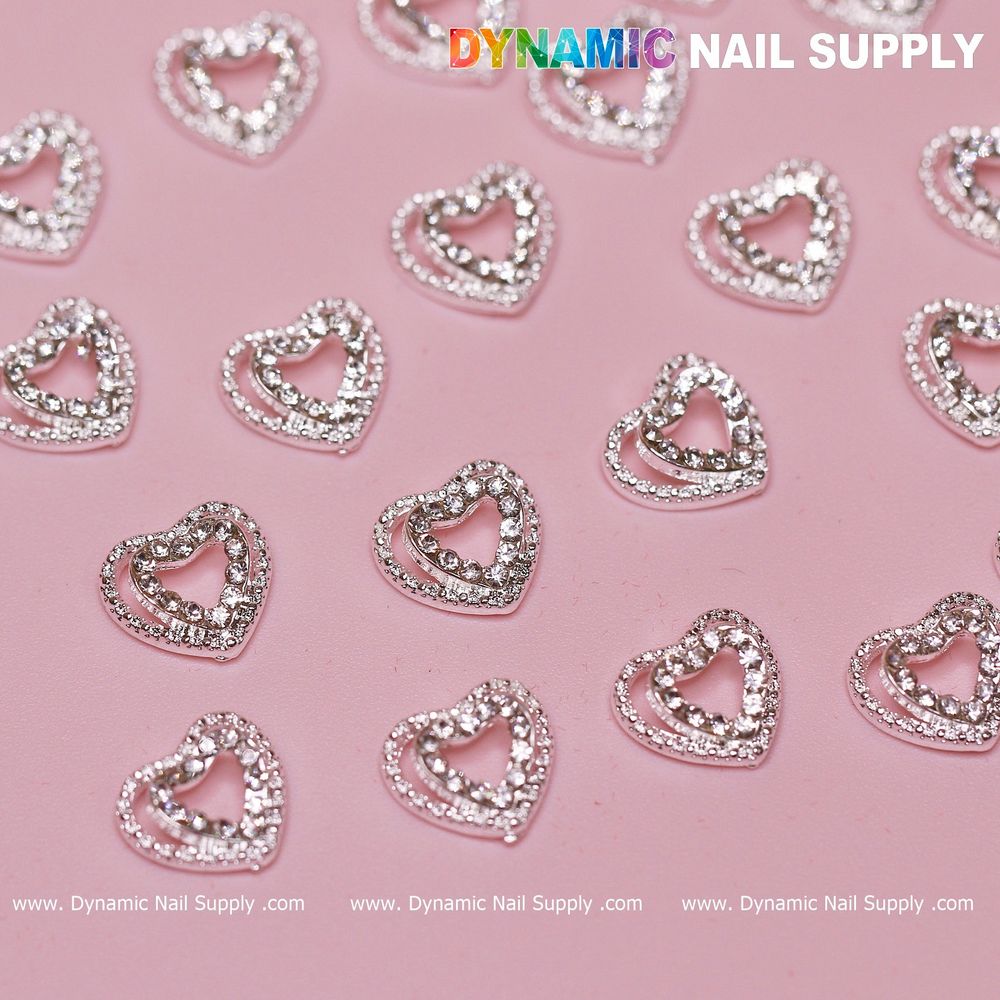
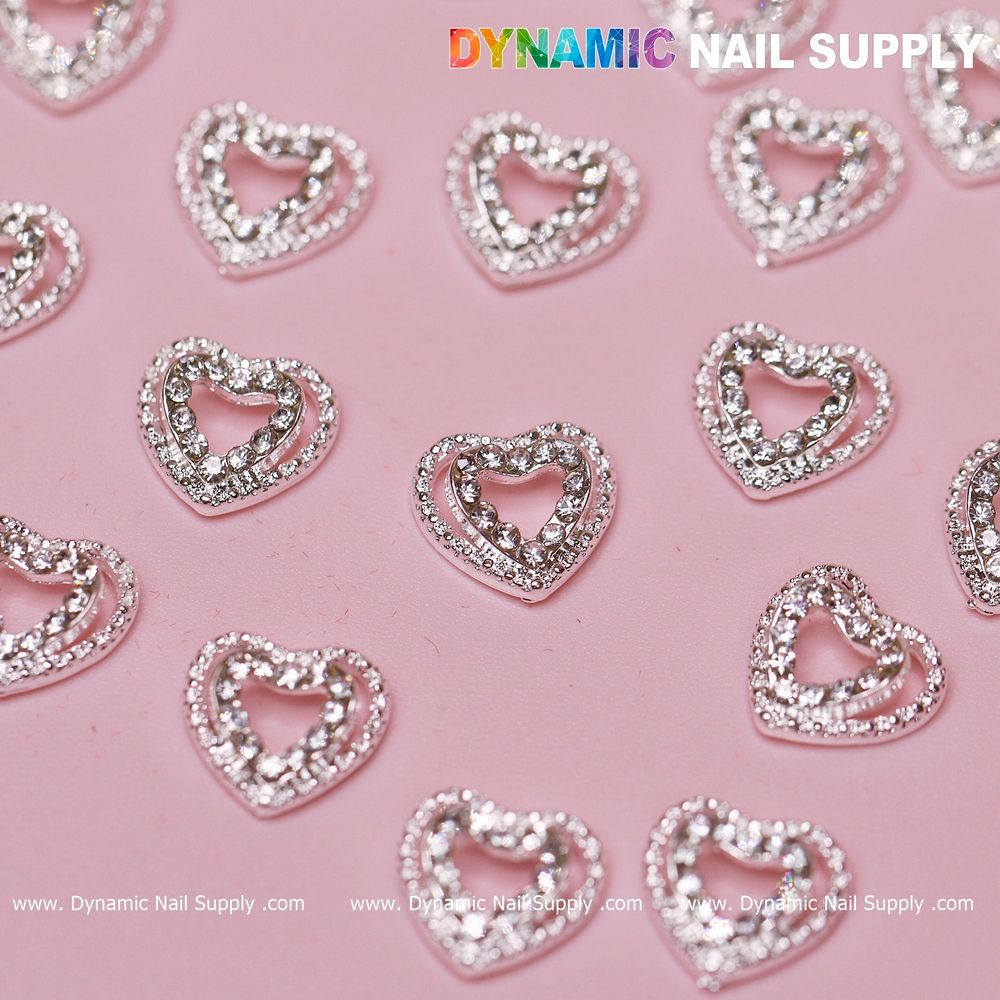
Each unit in this set is three-dimensional and finished in silver tone, so they catch light from multiple angles. Using a small cluster or a single statement heart on an accent nail creates depth that flat rhinestones can’t match. Because the pack contains 20 pieces, you can outfit multiple clients or create multi-nail designs on both hands without running short.
Tools and supplies to gather
- Clean manicure kit: nail file, buffer, cuticle pusher and cleansing wipe.
- Base and top coat: a durable base helps adhesive bond; a top coat secures edges.
- Precision pick-up tool or wax pencil: for accurate placement of small charms.
- Adhesive: choose a nail-safe glue or gel specifically made for attaching charms.
- Optional: tweezers and a tiny dotting tool to adjust positioning.
Step-by-step application for salon finish
- Prep the nail — Push back cuticles, shape the nail, and remove surface oils with a lint-free cleanser so glue adheres evenly.
- Lay your foundation — Apply base color and cure if using gel. For the sturdiest hold, apply a thin layer of adhesive where the charm will sit instead of painting glue over the entire nail.
- Pick up and place — Use a wax pencil, pick-up tool or tweezers to lift a charm. Position it gently and press for a few seconds to allow initial tack.
- Secure with product — If you used glue, avoid flooding with top coat; seal around the edges with a thin bead of top coat or builder gel and cure if applicable.
- Finish and inspect — Wipe away any excess adhesive and check the charm’s edges. Reapply a small amount of top coat around stubborn spots to prevent lifting.
Design ideas to try at home or in the salon
These silver hearts work across many styles—minimal, glam, or layered art. Try a few of these concepts:
- Single statement nail: Place one 3D heart at the base or tip of an accent nail for a polished focal point.
- Diagonal cluster: Arrange two or three hearts in a diagonal line for movement and dimension.
- Negative-space hearts: Paint a cutout heart with color and sit the silver charm inside the void for contrast.
- Mix and match: Combine the hearts with small studs or flat rhinestones for textured layers.
Key features in practical terms
- Quantity: 20 pieces per pack—ideal for multiple services or several full-hand accent nails.
- Style: 3D heart shape provides depth and reflective detail that stands out under salon lights.
- Finish: Silver tone complements most polish colors, from classic red to modern neutrals.
Who will get the most from these charms?
Nail technicians who offer seasonal or custom designs will appreciate the pack size and dimensional look, while DIY users will enjoy creating boutique-style manicures at home. If you’re building a Valentine’s collection or want quick accent options for client looks, this kit provides versatile pieces that fit a range of styles.
Care, wear and safety notes
Because these are small decorative elements, avoid rough handling and advise clients to be cautious with tasks that snag the charms. Secure placement is mainly determined by proper prep and adhesive technique: clean nails and correct bonding will lengthen wear. Keep out of reach of children due to small parts. If you need additional assistance or sourcing information, the vendor listed on the pack is Dynamic Nail Supply.
Conclusion: professional sparkle with simple steps
With modest tools and the right technique, the 3D silver heart nail charms let you create salon-worthy looks quickly. The 20-piece set is convenient for both single-client accent work and small-scale service menus; at the listed price of $7.99, it’s an easy add-on for seasonal promotions. Practice placement patterns and sealing methods to maximize wear, and you’ll get high-impact results every time.